Ummm, it could literally take you a while to look at all these pictures. But they do tell a pretty great story if you follow them through. So settle in...
I present -- the DOWNSTAIRS...
We started off with a structure full of... everything. You name it. Tools, tractor parts, rusty nuts and bolts, irrigation parts, paint and thinner, oil, firewood, old yearbooks, old shoes, and a little apartment built at the back that hadn't been lived in in a long long time -- full of JUNK, mice, the nastiest bathroom I have ever seen, three woodstoves, couch, chair... well, you'll see. Heck, there was a hay baler parked in the middle of what would someday be the living room!

Walk in the front door, view to the left.

View to the right.

View straight ahead. That little door leads to the "apartment."

Walk through the red door to this hallway.

Bathroom to the left. I went in once, and never again entered through the door.

Kitchen/living room? That frying pan on the stove was full of grease and dead mice.

Looking back towards the hallway.

We rented a 40 yard dumpster from Waste Management and went for it. Of course, we saved what we could, but a lot the crap in that building was too far gone to even consider keeping! Dust masks were a must for all the dust and grime and dirt. Thanks to my mom and dad who spent the whole day with us throwing all that nasty stuff away!

This is after Steven tore out the wall to the bathroom. Gross. Dirty. I just kept thinking "please don't let there be hanta virus!"

ACTION SHOT -- Chucking things out the windows upstairs straight into the dumpster.

Ripping out the kitchen. Underneath that kitchen linoleum, there was another layer of linoleum (the "fake brick" look, and under that we found the floor papered with old newspaper articles from the 50's. Under the newspaper we found a concrete floor painted red.

Finally the dumpster is full... Yowsas.

Next we had to knock down the concrete walls. Preggers. Well I'll be honest, I only took 3 or 4 swings at the wall between the (ex)bathroom and kitchen.


We also needed to tear down this wall, and the chimney in the corner there.

PHew. Dust. Concrete. Pumice stone.

Steve also had to take out a weird concrete subfloor under the kitchen/bedroom, which had sand/gravel/rocks between it and the actual concrete floor.

Finally it was all (mostly) clean.


Looking at the southwest corner -- eeeeeew, those floors joists (ceiling) are kind of nasty, eh? Good thing Steve spent an entire weekend doing nothing but sanding this place down, 10 hours a day. Shoutout to brother in law Haakon who assisted for a few days!

Looking east towards what will be the living room.

Old back door and back wall.
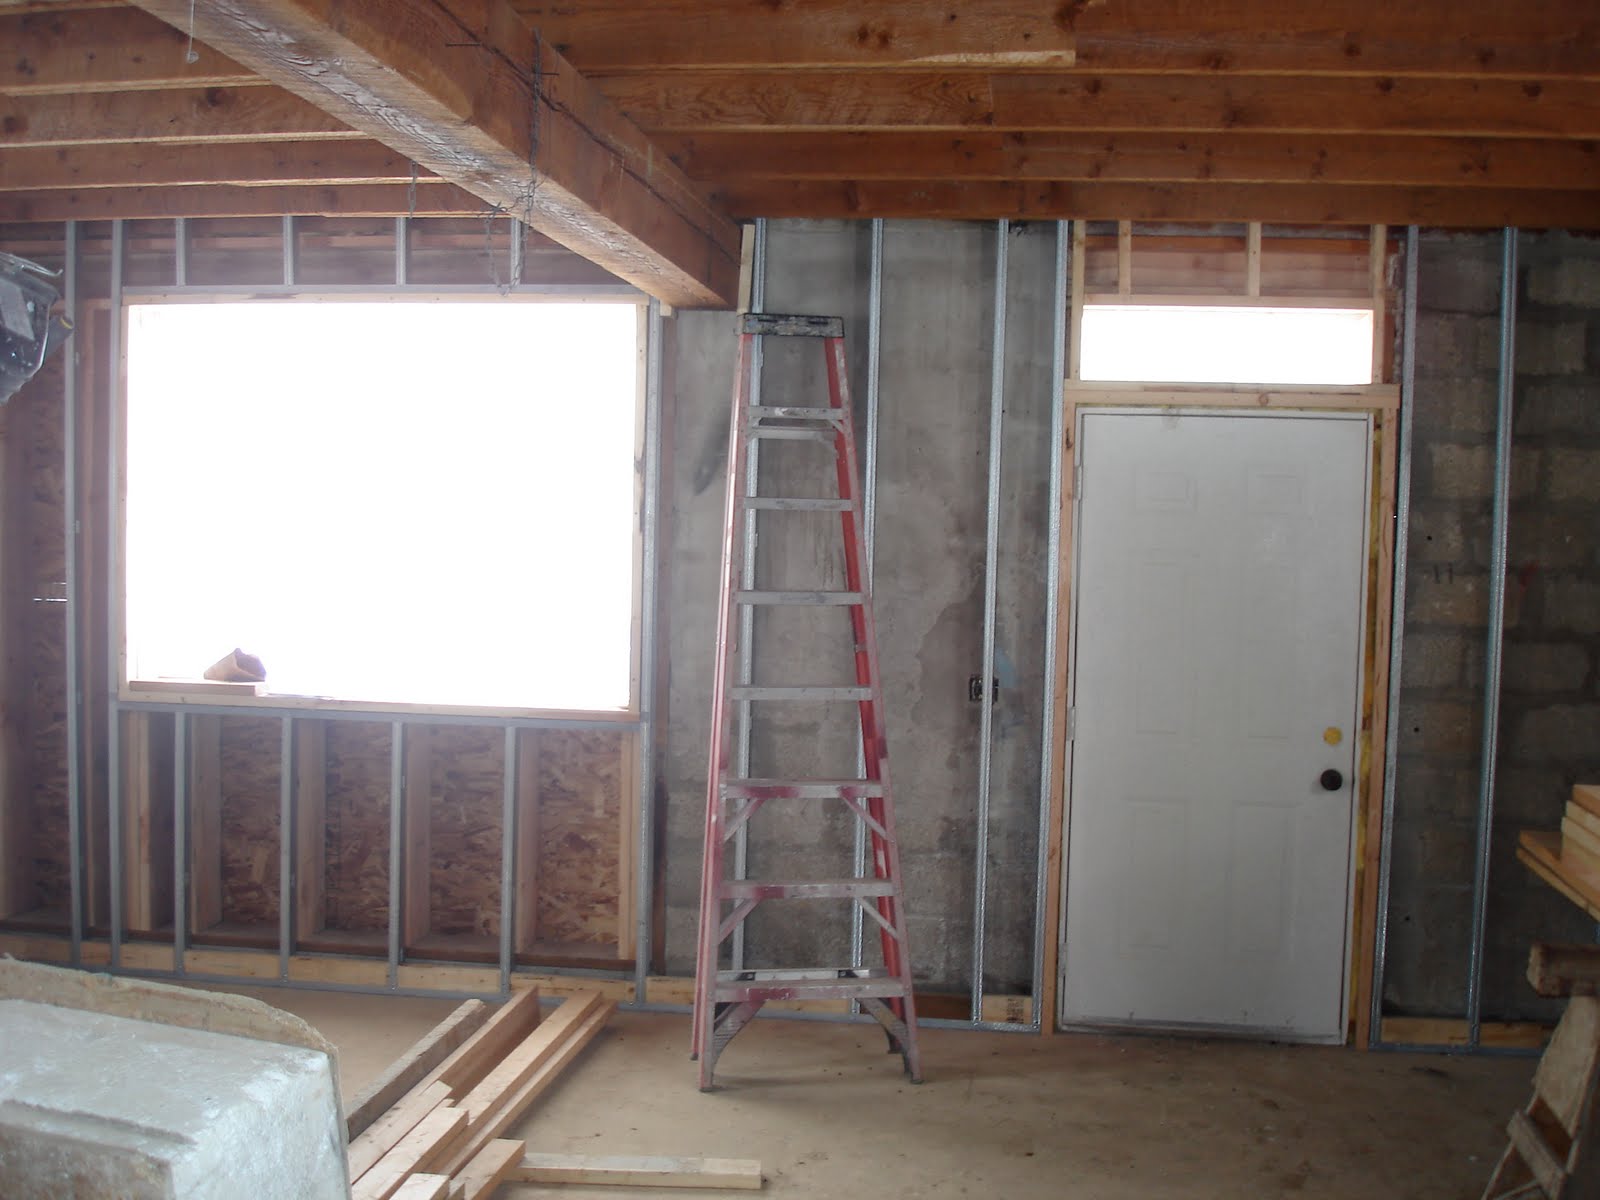
Beginning to frame in the outside walls with metal studs.

Framing in the stairs and my office/craft room.

Also notice the new sub-floor, which leveled out the not-so-level concrete.

Southeast corner - windows have arrived!

Love that big window that took the place of the tri-fold doors... We had other ideas for maybe a huge all glass garage door right there... but it was fairly cost prohibitive, and this big window also lets in a lot of light. That big pile of beams on the right turned into our front and back porches.

Spray-In insulation = SWEET. 1 day of work.
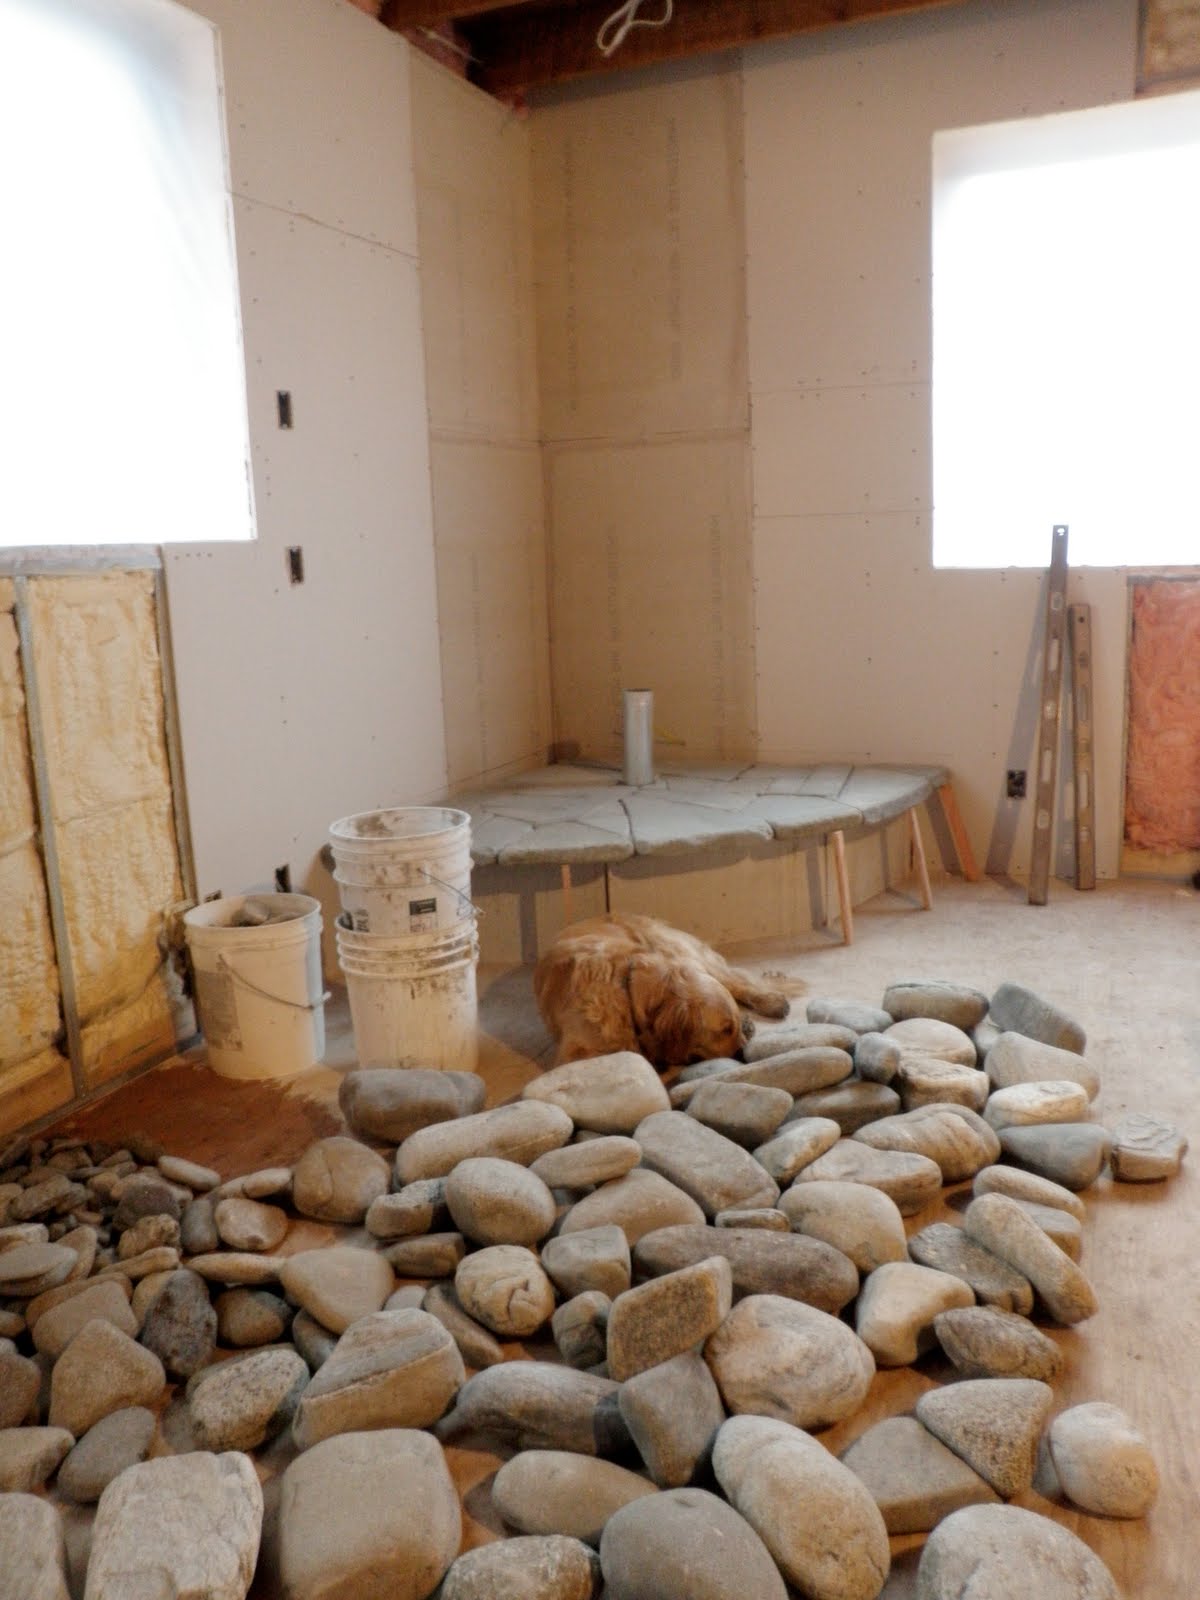
All drywalled, and ready to start the stove hearth/backing.

This is called "Dry Stack" with local river rock. GORGEOUS.

The completed product, with painted walls and a woodstove installed!

Looking at the kitchen.

South wall, beginning the trim work.

Nick, one of our handy volunteer electricians. Thanks friend.

Teak floors with a french bleed. Engineered hardwood - no that doesn't mean veneer - it is really wood, just a thin layer on top of the rest of it. Should be better at resisting buckling.

Hand planed goodness.

Wild Washington cherry wood in a no-reveal style cabinet. Local craftsman Andrew made these for us - I. LOVE. THEM. He is awesome.

Moving in appliances. Did you know you can barter with the peeps at Lowes and Home Depot? Well, you can. We got most of ours really cheap because Steve found scratches and dents on the floor models and talked down the salesmen. Sweetness.

And finally, a completed kitchen. Of COURSE there are dirty dishes in the sink.
Someday I will really post pictures of the whole thing, all put together, I promise! But for now, I hope you all enjoyed this walk through time.


